How to Convert Markdown to HTML and PDF — Step-by-Step Guide
Full guide to Markdown Document Converter: load files, switch view modes, tweak layout, download HTML, save PDF. Step-by-step with screenshots and FAQ for first-time users.
About this article
This guide explains the screen layout of Markdown Document Converter and how to convert Markdown to HTML or PDF step by step. It is aimed at first-time users and anyone who wants to know what each control does.
1. Overview of the tool
The top of the page has navigation for Tool, News, How-to & Blog, etc. In the main work area you:
- Load a file (upload or type/paste in the Edit tab)
- Preview the result
- Optionally adjust the look in Layout settings
- Download HTML or Save as PDF
All processing happens in your browser, so your files are never sent to any server.
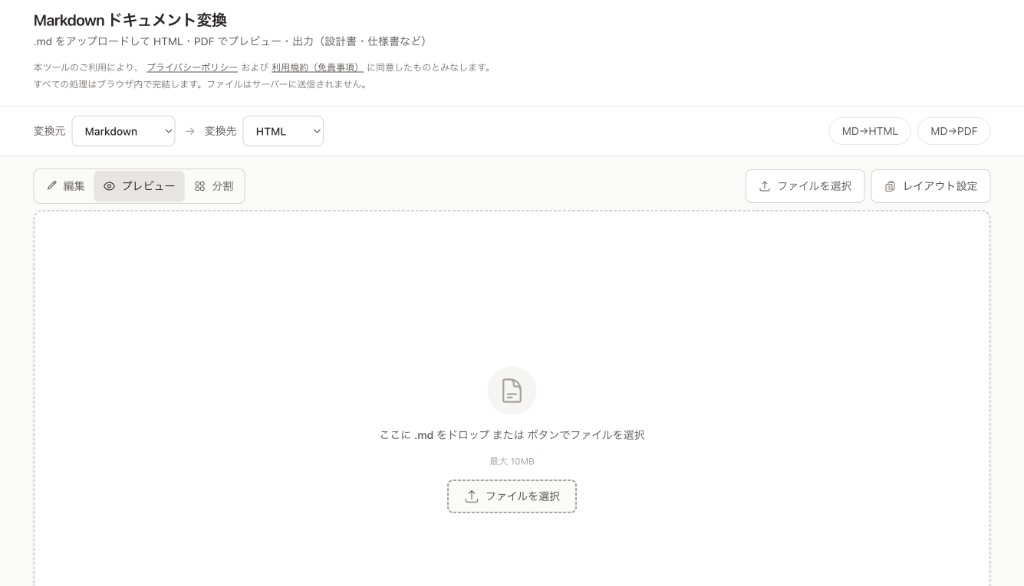
Figure: Screen before loading a file. Drop a .md file here or use “Choose file” to load.
2. Loading a file
Option A: Drag & drop
With the Preview tab active, drag and drop a .md file onto the main area. When the preview is empty, the drop zone shows: “Drop a .md file here or choose one with the button”.
Option B: Choose file with the button
Click “Choose file” and select a .md file in the dialog. This button is in the toolbar at the top, in any view mode (Preview, Edit, or Split).
Option C: Type or paste in the Edit tab
Open the Edit tab and type or paste Markdown into the text area. Useful when you want to write a new document from scratch.
Note: If you already have content and then drop or select another .md file, you’ll see a confirmation that the current content will be replaced. Maximum file size is 10MB.
3. View modes (Edit, Preview, Split)
Use the Edit / Preview / Split buttons above the main area to switch the view.
| Mode | Description |
|---|---|
| Edit | Shows only the Markdown source. You can write and use the toolbar to insert headings, lists, etc. |
| Preview | Shows only the rendered result, close to how it will look when printed or exported to PDF. |
| Split | Edit on the left, preview on the right. Handy for editing while checking the result. |
In the Edit tab you can paste (Ctrl+V / Cmd+V) or drop images. They are converted into Markdown image syntax.
4. Layout settings
Click the “Layout” button (ruler/layout icon) to open the panel where you can adjust how the preview and PDF look.
- Font size — Text size
- Line height — Space between lines
- Max width — Maximum width of the body text
- Font — Sans (default) or serif
Advanced options let you set print margins (top, bottom, left, right) and page breaks (e.g. new page before h1/h2, avoid breaking tables or code blocks). Useful when creating specs or design docs for PDF. For dragging page-break lines in the preview, see Adjust page breaks by dragging in Preview.
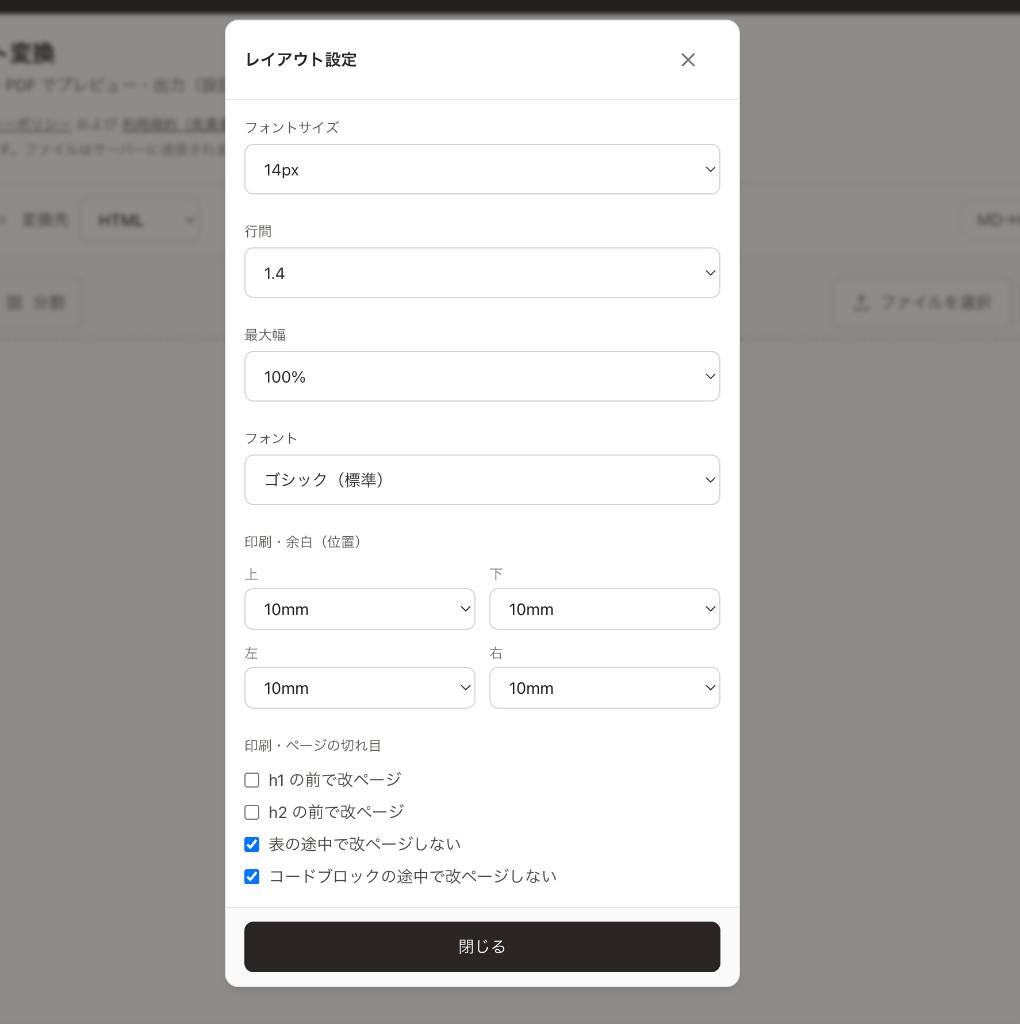
Figure: Use Layout settings to adjust font size, line height, margins, and more.
5. Downloading HTML
After loading or typing content, click “Download HTML” at the bottom. A single HTML file that matches the current preview will be downloaded.
- Styles are inlined, so that one file is enough to preserve the layout.
- Images are embedded as Base64, so one file can contain both text and images.
A short “Downloaded” message appears after the download.
6. Saving as PDF
Click “Save as PDF” to open the browser’s print dialog. Choose “Save as PDF” (in Chrome) as the destination and pick a save location to create a PDF.
- Layout settings (margins, page breaks) are applied in this print preview.
- For consistent PDF output, Google Chrome is recommended.
A hint near the top of the tool reminds you to choose “Save as PDF” in the print dialog to keep the layout.
7. Other actions
- Reset — Clears the current content and filename and returns to the initial state. Available in both the top toolbar and the bottom download bar.
- MD→HTML / MD→PDF — On the top page, these links switch the label of the same tool. Both allow downloading HTML and saving as PDF.
- Reload is safe — Your current Markdown and layout settings are stored in the browser for the session. They persist across page reloads, so you can reload in the middle of your work without losing anything.
To try PDF export, use the button below to open the tool.
8. FAQ and notes
-
Are my files sent to a server?
No. Loading, conversion, preview, and HTML/PDF generation all happen in your browser; nothing is uploaded. -
What file format is supported?
.md (Markdown) text files, up to 10MB. -
Can I use images?
Yes. Paste or drop images in the Edit tab to insert them as Markdown images. When you download HTML, images are embedded as Base64 in the file. -
Will my data be lost if I reload?
No. Your content and layout settings are kept in the browser for the session, so they survive a page reload. You can reload in the middle of your work without losing anything.
For questions or feedback, use the Contact page.